
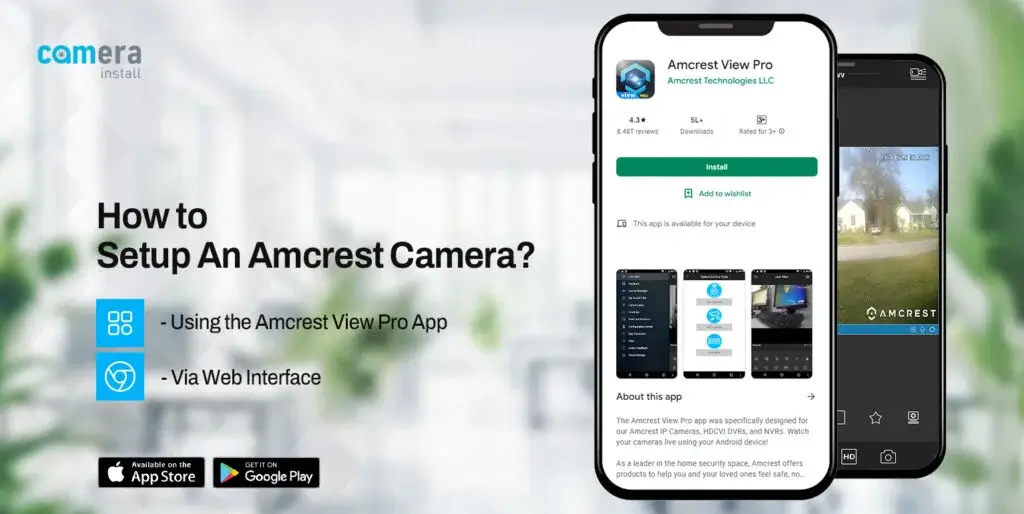
How to Setup Amcrest Camera?
You can add your camera to the mobile app on your smartphone or tablet using the Amcrest camera setup. When you connect your camera to your mobile device, you gain the ability to access and manage your camera wirelessly. If you have newly purchased an Amcrest camera, the configuration is critical.
This page was created to assist Amcrest camera users in learning how to go about the Amcrest WiFi camera set up. As a novice user, you may find the initial configuration of your new home security camera difficult. However, we are here to assist you in getting through the Amcrest security camera set up with ease.
In this post, we will walk you through the steps to go about the Amcrest IP camera installation. First of all, let’s discuss the basic requirements for the Amcrest camera configuration.
Necessities for Amcrest Security Camera Setup
Before you go ahead with the Amcrest POE camera set up, we would want you to learn about the basic necessities of the setup process. Please read the points below to learn about all the requirements:
Amcrest camera
iOS 8.0 or later
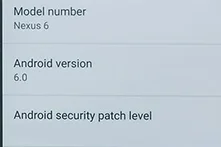
Android 6.0 or later

Smartphone
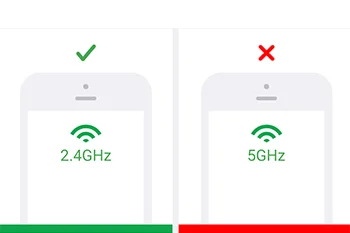
2.4GHz Wifi network
Next, you can go about the Amcrest WiFi camera setup and installation using the instructions given in the subsequent section.
Amcrest Camera Setup
To learn everything about the Amcrest wireless camera setup, please follow these two methods. We have discussed the two methods through which you can set up your camera hassle-free.
Using the Amcrest View Pro App
- To begin, use a power adapter to connect your Amcrest camera to the power supply.
- It will take roughly 30 seconds for the camera to boot up.
- After that, you must connect your camera to the internet.
- You can connect with an Ethernet cable or immediately over a WiFi connection.
- You must use the Amcrest setup app technique for this.
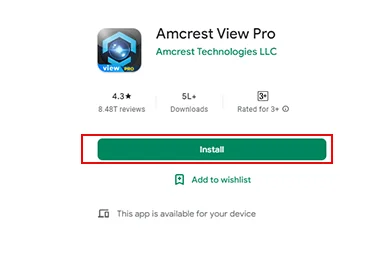
- Launch the Amcrest View app on your mobile device.
- In the top-left corner of the app screen, tap the Hamburger icon.
- The screen will appear after you select Device Manager from the menu.
- Tap the + symbol in the top-right corner of the Device Manager page.
- Choose Add Device and then your product type.
- Follow the in-app prompts to finalize the Amcrest camera setup.
Finally, the Amcrest WiFi camera setup will be completed successfully.
Via web interface
- You can also go about the Amcrest Security Camera Setting up using the web interface as well.
- In order to find the IP address of your camera, we recommend that you download the free Amcrest IP Config Tool software.
- Go to the amcrest.com/downloads to download the Amcrest IP Config Tool.
- After that, go about the Amcrest POE camera set up and installation.
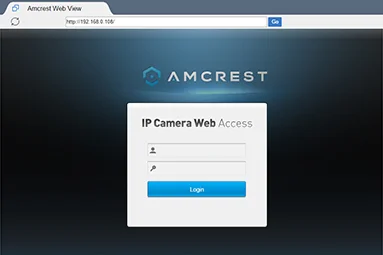
- Locate the IP address of your camera and open a web browser.
- Enter the IP address into the web browser. Hit Enter to access the web interface.
- Enter the username and password. Type “admin” as the username and password.
- Click Login. Finally, you will be logged into the Amcrest camera wizard.
- Follow the on-screen instructions to set up your Amcrest wireless camera.
Why I Failed to Setup My Amcrest Camera?
Are you failing to perform the Amcrest camera setup? Well, no issues at all! We will walk you through the common reasons why you can’t go about the Amcrest WiFi camera configuration:
- Frequent network drop-offs
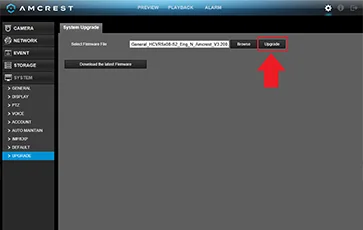
- Outdated firmware
- Camera offline
- Battery not fully charged
- Amcrest mobile app outdated
Troubleshooting Amcrest Setup Issues
ere are the main steps that you need to follow in order to go about the Amcrest wireless camera set up. Follow the steps very carefully:
- Firstly, fully charge your camera. Make sure you firmly connect the charging cable to the camera.
- Power On the power outlet and let the camera fully charge.
- After that, make sure the wireless router is powered On.
- Access the Amcrest IP Camera Setup wizard using the mobile app.
- Download and install the application. After that, add your camera to the application.
- Thereafter, add your camera and connect to the WiFi network.
- Make sure you enter the correct WiFi password to proceed with the Amcrest WiFi camera.
- Finally, the Amcrest setup issues will be fixed.
Conclusion
This post was all about the Amcrest security camera setup and installation. It is very easy to set up your camera using the mobile application. Make sure you only download the app from a trusted source like App Store or Play Store.
We hope you liked this post and that it allowed you to set up your device without any hassle. If you find more issues with your device or have any doubts, feel free to talk to our support staff for more assistance.