
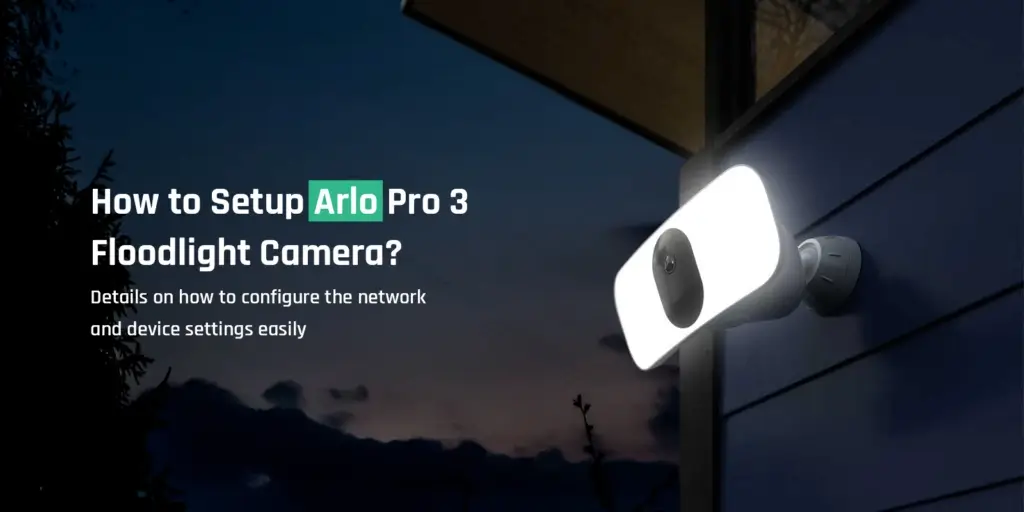
How to Setup Arlo Pro 3 Floodlight Camera?
Arlo Pro 3 Floodlight camera setup is simple and even a beginner can perform this process without any expertise. Arlo Pro 3 Floodlight cam setup is very easy to install with the help of tools and components supplied with the box.
This page will take you across the steps to set up the Arlo floodlight camera and install it onto a wall. We will also discuss how to manage the Arlo Pro 3 camera and connect it to the Base Station. At the end of this post, you will find a few frequently asked questions from Arlo users. Most of your queries and issues will be resolved with the help of that FAQ section.
Requirements for the Setup
To go about the Arlo Pro 3 Floodlight cam setup and installation, you only need to have a few things that are listed below:
- An active WiFi network
- Arlo Pro 3 floodlight camera
- Fully charged batteries
- A smartphone or a tablet
- Perfect location to install the camera
Steps for Arlo Pro 3 Floodlight Camera Setup
In this section, you will find step-by-step instructions to set up the Arlo Pro 3 floodlight camera at your home. Kindly follow the steps very carefully in order to avoid any issues.
Download the App
- First of all, download and install the Arlo Secure app on your smartphone or tablet.
- The Arlo Secure is a free mobile app that helps you configure or manage the Arlo products at your convenience.
- The app is available on both iOS and Android platforms.
Setup the Arlo Pro 3 Cam using Arlo App
- Open the Arlo Secure app on your device and scroll down to the bottom of the app screen.
- After that, tap Add New Device and then tap Lights.
- Select Connect without SmartHub
- In case you selected Connect without SmartHub, tap the Continue button.
- Make sure that you cross-check your mobile settings to ensure that you are connected to a 2.4 GHz WiFi network.
- Go back to the Arlo App and tap Continue.
- At last, enter the SSID and password of your WiFi network,
- Tap Continue at the end. The device configuration part of the Arlo Pro 3 Floodlight cam setup will end here.
Insert Battery & configure settings
- This is the most important part of the Arlo Pro 3 Floodlight cam setup.
- Insert the battery into your camera and then tap Continue.
- After that, keep your Arlo WiFi camera separate from its housing and then tap Continue.
- Tap Continue when you see the LED of your Arlo Floodlight blinking blue.
- Thereafter, you need to scan the QR code of your Arlo camera through the Arlo Secure app.
- Tap Continue after scanning the QR code.
- The Arlo app will start looking for your camera.
- Give a personalized name to your Arlo camera and then tap Continue.
- At last, the Arlo Floodlight camera will be paired with the Arlo Secure App.
- Tap Continue and move ahead to install the Arlo Pro 3 Floodlight setup.
Install Arlo Pro 3 Floodlight cam setup
- Firstly, identify a place for your Arlo camera that is well within the range of your WiFi router.
- Make sure you fully charge the Arlo Floodlight battery and tap Continue.
- Install the wall plate, secure the housing, and adjust the angle of the Arlo Floodlight. After that, tap Continue.
- Make sure you check the position of your Arlo Floodlight camera and then tap Continue.
- Finalize the settings and then tap Continue. The Pro 3 Floodlight camera setup will be completed.
How to Install Arlo Pro 3 Floodlight Cam?
To install the Arlo Pro 3 Floodlight camera setup, you need to follow the mounting instructions given in the previous section. It is pretty easy to install the Arlo Pro 3 Floodlight cam with the help of a screw, mounting plate, and camera housing.
Steps for motion detection setup
To set up motion detection on your Arlo camera, please follow the steps below:
- First of all, open the Arlo Secure app on your device.
- After that, tap Mode and then select your Arlo device.
- Navigate to the Rules section and then click on the pencil-styled icon.
- Thereafter, select the check box to detect Motion. This will enable the motion detection feature on your Arlo Pro 3 camera.
- At last, click Save and the mode will be activated.
How to Mount Arlo Pro 3 Floodlight Camera?
You can easily mount the Arlo Pro 3 Floodlight camera with the help of the tools supplied to you with the box. You can use the mounting plate, screws and camera housing to mount the camera onto the wall. Make sure you follow the setup and installation instructions given earlier in this post.
How to Re-position Arlo Pro 3 Floodlight Camera?
To re-position the Arlo Pro 3 Floodlight cam setup, please follow the steps outlined below:
- Open the Arlo Secure app on your smartphone or tablet.
- After that, select your Floodlight camera from the list of products.
- Thereafter, tap Device Utilities and then select Camera Positioning.
- Then, cross-check the placement of your Arlo camera by accessing the live video feed from the Arlo app itself.
- To finalize the position, use your fingers to tighten the grip on the mount.
How to Remove Arlo Pro 3 Floodlight Camera?
To remove the Arlo Pro 3 camera, you can do it using the Arlo Secure app. Follow the steps below to remove the camera.
Remove the Camera from the App
- Firstly, open the Arlo Secure app on your device.
- After that, tap Settings and then select My Devices.
- Thereafter, select the camera that you wish to remove.
- Scroll down to the bottom of the app screen and tap Remove Device.
Remove the Camera from the Wall
- Now that you have removed the camera from the app, you can also remove it completely from the wall mounting.
- Just go near your camera and unmount the camera from its housing.
- If you want, you can use the screws to loose the camera from its housing and remove it from the wall.
How to Manage LEDs Setting on Pro 3 Floodlight Cam?
To manage your Floodlight camera’s LED settings, you need to follow the steps outlined below:
- First of all, open the Arlo app on your device.
- Then, go to Settings and select your device.
- After that, you will get the option to manage LEDs on your device.
- Follow the in-app instructions to modify the settings of your Floodlight LEDs.
How to Connect Arlo Pro 3 Floodlight Cam to Base Station?
To connect Arlo Pro 3 Floodlight cam to the base station, kindly follow the steps below:
- Firstly, you need to bring the camera well within the range of the base station.
- Press the Sync button located on the Arlo base station and hold it for 2 seconds.
- After that, release the Sync button.
- The Arlo Pro 3 Floodlight cam will be connected to the Base Station.
How to Charge the Pro 3 Floodlight Camera?
You can charge the camera using three different methods. Please follow the method outlined below:
USB Charging
For USB charging, you can use the USB cable provided with the Arlo camera. Just insert one end of the cable into the USB port of the Arlo camera and another end into the power outlet.
Magnetic Charging
To charge your Arlo Pro 3 Floodlight camera using magnetic charging, align the metal contacts and then let the magnets snap into the place. Make sure the charging cable is free from dirt and debris before you attach it to your Arlo camera.
Solar Panel Charging
To charge your camera with the help of solar energy, you need to get the solar panel designed by Arlo for its cameras. Attach the solar panel over the Arlo camera and connect it to the USB charging cable. The solar panel charging will start itself.
Why is the Arlo Pro 3 Flood light Camera Not Charging?
The Arlo Pro 3 Floodlight camera might not be charging because of the faulty cable or the battery. If you see your Arlo Pro 3 not charging, you need to follow the steps below:
- Firstly, make sure the power socket is working in which the USB cable is inserted.
- After that, ensure that the battery is working perfectly well.
- The battery should not be defective or malfunctioned.
- Then, clean the charging dock and cable to clear out the dirt and debris.