

How to Setup Your Lorex Camera in Easy Steps?
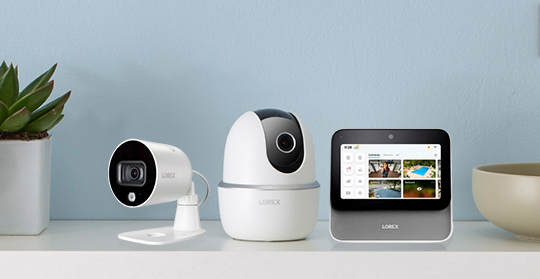
Lorex cameras can be your perfect companion when it comes to recording real-time updates about your house. You can always connect your camera to the WiFi connection at your home and start saving the recordings to the cloud. If you have recently purchased a new lorex security camera setup, learning how to get it working will go a long way in ensuring 24/7 surveillance. This page will walk you through the steps you can follow to configure your Lorex Camera.
Connecting lorex security cameras and accessories
You can follow the instructions on the Lorex home app and add your camera and accessories. Search the camera’s model number to access the product support page.
Important:
Make sure your Lorex camera is connected to the Lorex Home app. If you are installing any accessories, make sure they are connected as well, on the same app account. In addition, you’ll also need to ensure that they are connected to the same network. Save your device password associated with the lorex camera and accessories.
Now, here are some steps you can follow:
- Open the Lorex Home app on your smartphone and log in to the Lorex account.
- Once the app interface launches, tap on the + icon to add your WiFi camera.
- Power your lorex camera now and scan for the QR code on the same. If you wish, you can manually enter the device ID to connect the camera.
The app will now walk you through some easy steps to complete Lorex security camera setup process.
Connecting Lorex security camera system to the recorder
You can connect up to two lorex wireless security cameras to two of the recorder channels. Make sure you have these two channels available. Below are some steps you can follow:
- Login to your Fusion recorder using the lorex.login or Lorex com portal.
- Use the default lorex camera credentials. The username is admin and the new secure password is password.
- From the live view display, right-click to open the Quick menu and then click on the Camera Button Registration
- Click on the Device Search option now.
- Check the radio button next to the WiFi device at your home and click on the Add Button.
- The wifi network will now move to the Added Devices You can now click on the Pencil icon underneath the Edit button.
- Type in the WiFi device password and click on the Connect Now, click on the Ok button.
Once you get connection with the recorder, the connection LED on the WiFi camera will turn green. You can adjust the camera’s recording settings to turn off the duplicate notifications and link motion sensors to cameras.
Setup Motion Detection on Lorex Security camera
- Launch the Lorex Home app on your smartphone.
- From the Devices tab, tap on the Settings icon next to your WiFi camera to access the device settings. Now, tap on the Detection Settings Button.
- A new window will now appear on the screen. You will see different options.
- Turn the toggle button next to the Motion detection option to the ON Once enabled, you can also set the sensitivity level of motion detection from the Motion Sensitivity option.
- The settings will autosave themselves and you can exit the app.
Lorex camera troubleshooting
While you are trying to configure the Lorex security camera system, you may come across issues that may prevent access to the camera. Here are some basic troubleshooting steps you can follow when trying to troubleshoot the device.
- Make sure that the Lorex camera and the recorder device are connected to the same Lorex app account.
- Then, check if both have connection with the same network. If you are facing issues with the wireless connection, try using an ethernet cable to connect the recorder.
- Restart your camera and the recorder device to rule out the chances of WiFi issues causing trouble.
- Check if the Lorex camera recorder firmware is updated to the latest version. You can log in to your recorder and navigate to the system settings. Here, select Update and reset and go to the Upgrade Now, click on the Check for Updates option.
- Connect the Lorex camera to the available WiFi channel and not with a channel that has a WiFi device already has connection to it.