
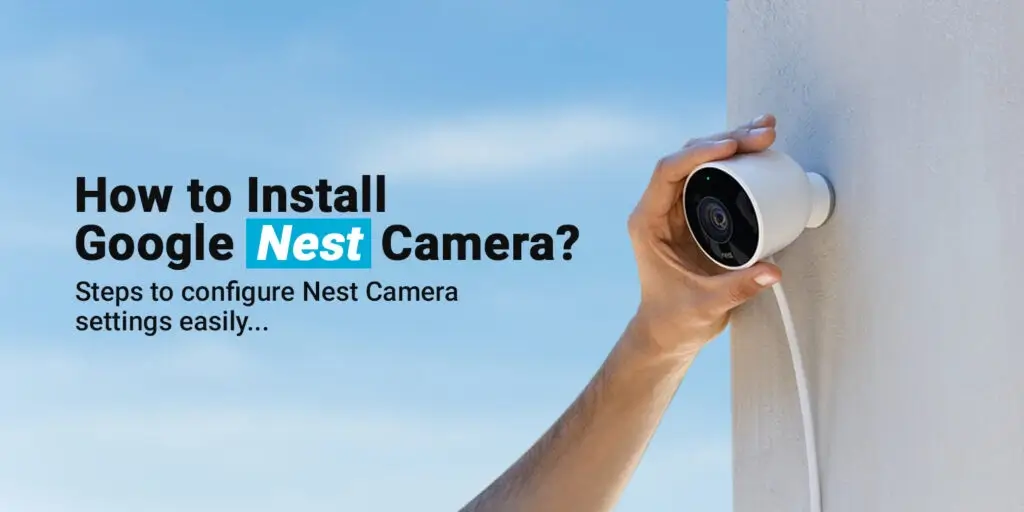
How to Install Google Nest Camera?
Google Nest cameras are some amazing home surveillance devices that can help you stream live footage from both inside and outside of your house. If you are setting up a Google nest camera for the first time, the process might sound confusing to you. This blog will walk you through the steps to complete the Nest camera installation process in no time.
Nest Camera Installation
If you are looking for information to Install Nest Cam in your home, you can follow a series of simple steps. Starting from unboxing the cameras to connecting them to WiFi and mounting them in the right place, these cameras are easy to install, provided you follow the step-by-step procedure correctly.
Now, before you start, there are some requirements you will need to fulfill.
What are the Requirements to Install the Nest Cam?
To start with the Nest camera installation process, you’ll need to get some items ready. These are:
- An Active WiFi connection
- Smartphone or tablet with updated OS
- A Nest account
- A power outlet
- Screwdriver/Power Drill for installation purpose
If you are looking to install your camera outdoors, ensure there is a power outlet available. If not, you can plug the camera into an outlet indoors. However, this might require you to follow some extra steps involving drilling through your house’s exterior wall. So, you might want to consider some expert help.
How to Install Nest Indoor and IQ Indoor Camera?
The installation and setup process for your Nest Indoor camera and IQ Indoor Camera is similar. Before you start, here are some things you’ll need:
- Nest Cam Indoor or Nest Indoor IQ Camera
- The Nest App
- Indoor power outlet
- Active WiFi Network
Once you have these things ready, you can start with the following steps:
- Download and install the Nest app on your smartphone or tablet. Ensure that the OS on your device is updated to the latest version.
- Once the app is installed, you can launch it and sign in to your Nest camera account.
- Attach the power cord with the camera and the power adapter into the power outlet at your home.
- Turn on the power supply and the camera will make a sound. If you have the Nest IQ indoor camera, you’ll see a blue light ring around the camera lens.
Adding Nest Camera to Account
Sign in to your Nest account and tap on the + button to add your Nest indoor camera to the account.
If you already have Nest devices added to the account, tap on the Settings icon first and then select the Add Product option to proceed.
The Nest app will now ask you to scan a QR code on your camera. Scan the same using your smartphone’s camera to proceed.
Once the camera is added to the account, you can name your camera according to its location. This makes it easier for you to identify it later.
Connect Nest cam to WiFi
You can now connect your Nest camera to the WiFi network at your home. The app will walk you through the steps to connect your camera to the WiFi network easily. Once connected, you can place your camera at its intended location.
You can now mount it using the screwdriver or power drill set.
The Nest camera install process is now complete.
How to install Nest Outdoor and IQ Outdoor Camera?
Google Nest Outdoor camera has a 4K sensor which provides a clear picture of the area it’s installed in. If you are looking for information on how to set it up, here are some instructions you can follow.
- Before you proceed with the installation, ensure that the location you have chosen is the best in terms of wifi signal coverage. Ensure that the wireless router is located close to the spot where your camera will be installed in.
- Plug your nest outdoor camera or the IQ outdoor camera into a power outlet and then add it to your Nest account.
- Download the Nest app on your wireless device and log in to your account using the login information. Follow the in-app instructions to add your new camera to the account. Once the camera is set up and connected to the WiFi network at your home, it will start streaming live video to the app.
- This is how you can know that the camera setup process is complete.
In order to install the camera, use the mounting plate that came with the package. Drill holes on the wall after marking the location of the same on the wall. Once mounted, you can start enjoying seamless video streaming on your Nest app.
FAQs
Do I Need Professionals to Install the Nest Cam?
If you don’t hold technical knowledge of how to handle the electrical equipment and make changes to the wiring structure at your home, you can seek help from an expert. This will also help you ensure that the wired connections are made securely and you can prevent any future mishaps. Moreover, handling equipment like power drills and more can be tricky. This is where seeking help from professionals becomes important.
How to Choose the Location for Installing Nest Camera?
The perfect location for installing your Nest camera is where you get the maximum wireless coverage. Check the wifi coverage at your location using your smartphone or some other wireless device. Moreover, the app alos tells you about the WiFi coverage status at a particular location. Once you are sure the coverage is good at the location, you can proceed with the installation process.
Do I Need a WiFi Connection to Install the Nest Cam?
Yes, an active WiFi connection that supports up to 2Mbps data speeds is required to install your nest camera successfully. This is required as streaming real-time videos and audio would require data bandwidth. Furthermore, saving all these to the cloud in real-time is only possible using a WiFi connection. Therefore, before you start with the setup process, always ensure that you have an active subscription to a data plan.