
How to Factory Reset Nest Camera?
The Reset Nest Camera process can be executed in multiple ways. But why do Nest camera users have to reset Nest camera? That is because the users come across several issues on their cameras that they are only left with the reset Google Nest camera option. Although Nest cameras are some of the best yet most reliable security cameras, they tend to come across a few issues.
So it becomes really crucial for us to learn how to factory reset the camera. This post will walk you through the instructions to learn how to reset the camera to the factory default settings.
Resetting the device using Nest app
- Firstly, download the Nest app on your mobile from the Play Store or the App Store.
- Let it install automatically on your device.
- After that, you will see the Nest camera homepage. Choose Cameras.
- Thereafter, tap on SETTINGS at the top-right corner of the app screen.
- You will see REMOVE DEVICE in the middle of your app screen.
- After that, tap the button, and a confirmation message will pop up.
- The Nest Camera will remove from the app. That means, your device has reset successfully.
Resetting Nest cam using a push button
A push button or a reset button is located on your camera. Be sure to keep a pin or a paperclip handy in order to press the button. Please follow the steps below:
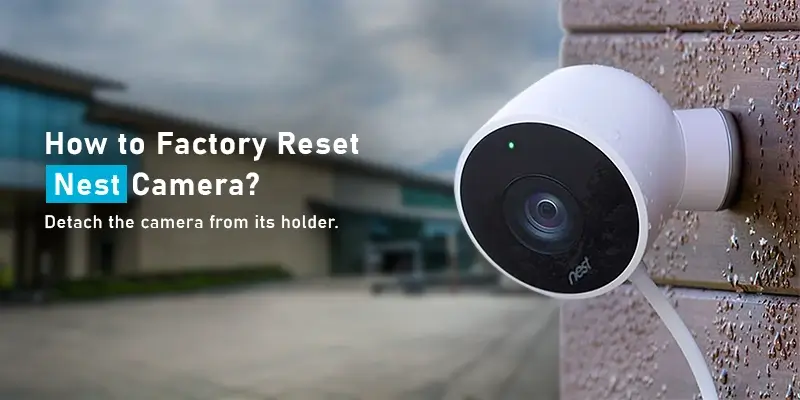
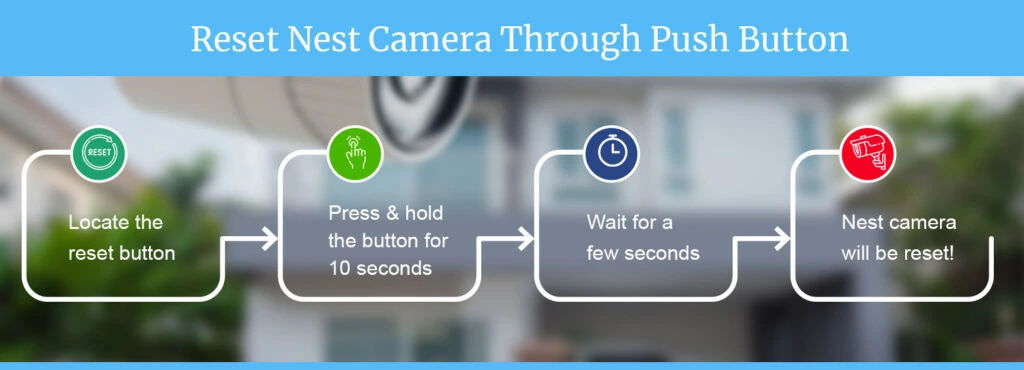
- Firstly, detach the camera from its holder.
- Secondly, locate the push button on your camera.
- Press and hold the reset button.
- Hold down the push button for good 10 seconds. Thereafter, the status light on your camera becomes steady yellow.
- Now, you will hear a confirmation tone from your camera.
- Now you have successfully reset Google Nest camera to its original settings.
Why reset the camera to the factory default settings?
The factory reset is entirely different than a reboot. The Nest reset process removes everything from your cameras, such as personalized configuration, video history, network logs or connection, etc. In simple words, when you reset the camera, it comes back to its factory default settings.
So what is the need to learn how to reset the outdoor camera? It is important to learn because the reset process ensures to remove all the issues and errors from your device. However, any hardware issue won’t be fixed through a reset. Only those issues will be fixed that are active in the firmware or configuration of your camera.
How to Reset Nest cam after a failed attempt?
Have you failed to reset to its factory default settings? Don’t worry if you can’t reset Google Nest camera. Kindly follow the steps below:
- Firstly, make sure you navigate to the CAMERA section if you are using the Nest app on your mobile or tablet.
- Secondly, you need to ensure that the device you are using to reset the camera has a connection to the wifi network.
- Please make sure you follow the google Nest reset process instructions carefully in order to avoid any hassle.
- Ensure to press only the reset button if you are using the push button method to restore factory default settings on your camera.
- The location of the reset or push button may vary according to the model.
- Most camera models come with a reset button that is found a little inside the frame of the camera. While some may come normally with a button outside the frame.
- If you have a model that sports the reset button inside the frame, make sure you press the button with the help of a paperclip.
- Press the reset button and you must feel that in your hands.
Bottom line
While it is important to learn how to factory reset the camera, it is equally important to follow the steps carefully in order to avoid facing any issues. So that was all about how to reset Nest camera to its factory default settings and how to troubleshoot any possible issues that might occur on your device. If you come across any issues while attempting to reset the camera, please feel free to reach out to our support team. Our support team consists of professionals who bring years of extensive experience in resolving queries and issues.