
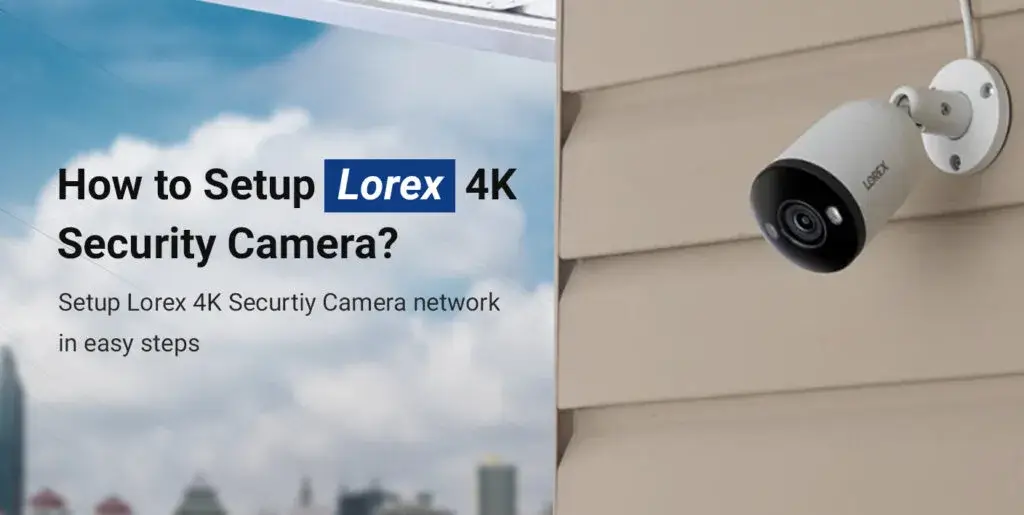
Lorex 4K Camera Setup
Did you know that Lorex makes security cameras that can protect homes as well as malls and other business buildings? Lorex cameras are not only useful for home security, but they are also reasonably priced. Here is a setup guide for a Lorex 4K camera.
- Firstly, place your cameras where you want them to be and configure the DVR.
- Since I encountered problems with prior versions that I saw on their support page, I requested the most recent Lorex software from their support department.
- I used the following installation at the time of writing: Lorex Client 13 PC-v1 1 0 31-2018_06_26
- Next, you ought to be able to see the cameras in the GUI after installation and login.
- From here, you can choose MainStream or SubStream based on the quality you want when watching in real time.
Lorex 4k Security Camera System
Complete Security Camera System – This setup comes with a DVR and 4K outdoor security cameras that provide crystal-clear records.
Active Deterrence – For an additional layer of security, each camera incorporates a remote-activated siren and a motion-activated LED warning light.
Intelligent Motion Detection – Only sends notifications when a person or a vehicle is detected, not when branches or animals are moving.
Night Vision – With the infrared LEDs, you can get sharp black-and-white footage in the dead of the night in low-light situations or full colour video up to 150 feet away.
Cameras that are weatherproof can survive wind, rain, snow, and temperatures between -40 to 131 degrees Fahrenheit.
After that, the app will now walk you through some easy steps to complete Lorex security camera setup process.
How to Install Lorex 4k Camera System?
Connect the BNC cameras in step one.
The BNC ports (designated VIDEO INPUT on the system’s rear panel) should be used to connect the BNC cameras.
Connect the mouse in step two.
Utilize the USB port on the system’s back panel to attach a USB mouse. To fasten the BNC connection to the BNC port, push and rotate it in a clockwise direction.
Connect the Ethernet cable in step three.
Attach the Ethernet cable to the system’s back panel’s Ethernet port. The other end of the Ethernet wire should be connected to your network’s router.
Connect the display in step four.
Attach the monitor’s VGA cable (not provided) to the VGA port OR Using an RCA cable and a BNC to RCA connector (not included), attach a BNC cable to the VIDEO OUTPUT BNC port.
Connect the power adapter in step five.
Join the system to the DC 12V connector. Then, the power adapter’s other end should be connected to a surge protector or a wall outlet.
Verify the camera image in step six.
Before putting the cameras in a permanent spot, turn on the cameras and check the video quality. Then, install the cameras in a protected area. Before placing your camera in a permanent location, always check its outside rating.
Set the time in step seven.
For precise video time stamps, set the system time. Videos with incorrect times might not be acceptable as surveillance proof.
Login
To login to your lorex account follow the following steps:
- Firstly, start your computer’s Lorex Client 11 programme.
- Then, enter your DVR’s DDNS or local IP address in the IP Address field.
- After that, put your user name, please.
- Type the password in.
- Then, put the Client Port value in here (default: 9000).
- Lastly, press Login.
Configuration of Lorex 4k Security Cam
STEP 1: Connect cameras
By temporarily attaching the cameras and cords to your DVR, you can test your cameras before deciding on a mounting place for them permanently.
STEP 2: Connect the router
Using the provided Ethernet cable, join the recorder to your router.
STEP 3: Attach the mouse
Connect the provided mouse to the recorder’s USB port.
STEP 4: Attach a monitor
Use the HDMI or VGA cable provided to connect the recorder to a monitor (not included). While VGA only supports up to 1080p, the HDMI connector enables resolutions up to 4K.
STEP 5: Plug in the electricity
Connect the recorder to a nearby outlet using the power adapter that is included. Utilize the power switch on the back panel to turn on the recorder.
STEP 6: Lorex Setup Wizard
The Lorex Setup Wizard will start when you turn on your recorder for the first time. Next, you can configure fundamental system settings with the Wizard’s assistance.You’ll also come up with a strong password.
How to Setup Password of Lorex 4k Cameras?
Here’s how to modify your Lorex Home account’s password.
- Firstly, open the Lorex Home app, then select Account from the bottom menu.
- Then, switch to Account Settings.
- Then, select Security.
- After that, select Change Password.
- After entering your Current Password and your New Password, click Done.
Why Lorex 4k Security Camera Not Working?
If the camera won’t turn on, there can be a problem with the power supply or the connection. Here’s what to do when you have to troubleshoot this:
Troubleshooting:
- Make sure the power adapter is securely attached to the camera and is plugged into a working socket.
- Cover the lens of the camera. Keep an eye out for the red LEDs to turn on and keep an ear out for a click sound. This shows that the camera is getting adequate power and that the infrared (IR) LEDs are turning on. Connect the camera to a different power outlet if it isn’t getting enough power to activate the infrared LEDs.
- A different connection on the back of the DVR or NVR should be used to connect the camera. Try connecting to a port first if one is available and is currently showing a video feed from another camera. Try the original port again if the camera’s image appears when using a different port; reconnecting might cause the camera to display its video feed.
- Change your BNC or Ethernet cable. Cables that are bent, twisted, or damaged might become defective.
- Use a separate port on the rear of the NVR or Power over Ethernet (PoE) switch if using an NVR to connect the camera.
- If utilising a PoE switch, connect the camera directly to the NVR to test the switch’s operation.
- Moreover, make sure the Ethernet or BNC cable does not exceed the limit specified in your product specs sheet. After the maximum recommended cable length, image quality will deteriorate.
How to Reset Lorex 4k Security Camera?
In order to restore the IP camera’s factory settings:
- Make that an Ethernet cable is being used to connect the camera to the NVR.
- Reset the camera by pressing and holding the Reset button on the back or base. To reach the Reset button, you might have to remove the casing. To find where the Reset button is on your specific model, see the user manual for your camera.
- After that, disconnect and re-connect the Ethernet wire while continuing to hold down the Reset button. Hold the button down for another 15 seconds before letting go.
- The camera will resume after a default reset. It will take a few minutes to resume.
Your camera should resume regular operation after restarting, but you will need to adjust your system and recording settings.
FAQs
Are Lorex 4k Cameras Good?
The camera has crystal-clear night vision and superb video quality. Even though setup is simple, you must create and register for a Lorex account. It’s convenient to start out with the camera’s pre-installed 16GB Micro SD card. With a robust WiFi connection, Google Home Link sets up quickly.
How to Fix Lorex Security Camera 4k Playback is Freezing?
- Make sure the receiver can see the camera. For further information, consult the product specification document.
- Then, reconnect the camera and DVR/NVR.
- For information on how to pair your camera in a particular mode, consult your user manual. For your product’s downloads and documentation, click here.
- Make that the power adapter for the camera is plugged in and that the outlet is operational. Cover the camera’s lens, listen for an audible click, or keep an eye out for the red LEDs to turn on the front of the device. This shows that the camera is getting enough power and that the infrared (IR) LEDs are turned on.
- Make sure there isn’t any wireless signal interference affecting your wireless cameras.
- To extend the wireless range your camera or receiver can operate in, use a wireless range extender.
How to Get Higher Resolution on Lorex 4k Cameras?
Step 1: Select System > Display from the Main Menu’s Settings menu.
Step 2: Then, choose the display resolution you prefer:
IMPORTANT: Verify which of the following resolutions your home TV monitor can display. Pick 3840 x 2160 if your monitor is a 4K TV. Choose 1920 x 1080p if your TV display has the 1080p resolution, which is currently the norm for TVs in North America. Choose 1280 x 1024 if your computer monitor is an older model with a rectangular screen.
3840 x 2160 (This resolution is 4K)
1920 x1080 (This resolution is 1080p Full HD)
1280 x 1024 (If you have a monitor with a rectangular screen, pick this resolution.)
1280 x 720 (This resolution is 720p)
Step 3: Press Apply.
Congratulations! You were able to successfully modify your recorder’s display output.