
How to access Nest Indoor Camera Setup?
To configure your camera, ensure that your phone and tablet are compatible with the Nest app. To get the most out of your experience, download the Nest app. If your tablet or phone isn’t compatible, configure your camera using the help of a Mac or Windows PC instead. Download the most recent version of the Nest app via Google Play or the Apple App Store or Google Play. Find the location within your home where you’ll set up your camera. Therefore, you can easily access the Nest Indoor Camera Setup using the smartphone-enabled app.
Features of Nest Cameras Indoor
Nest cameras(both indoor and outdoor) come with a host of features including person detection, motion detection, Nest Aware subscription, continuous video recording, and more. These features may depend upon the type of subscription you have and the camera model you own. For details on the features which your Google Nest Indoor Camera has, you can always go through the product manual.
Setup Nest Cameras Indoor
The steps for setting to set up Nest Camera Indoor are nearly identical, but Nest Cam Outdoor begins within your home and is moved outside, while Nest Cam Indoor remains within the house for all duration. For the camera, you choose to use follow the steps below. We’ve given Nest Cam Outdoor screenshots as an illustration.
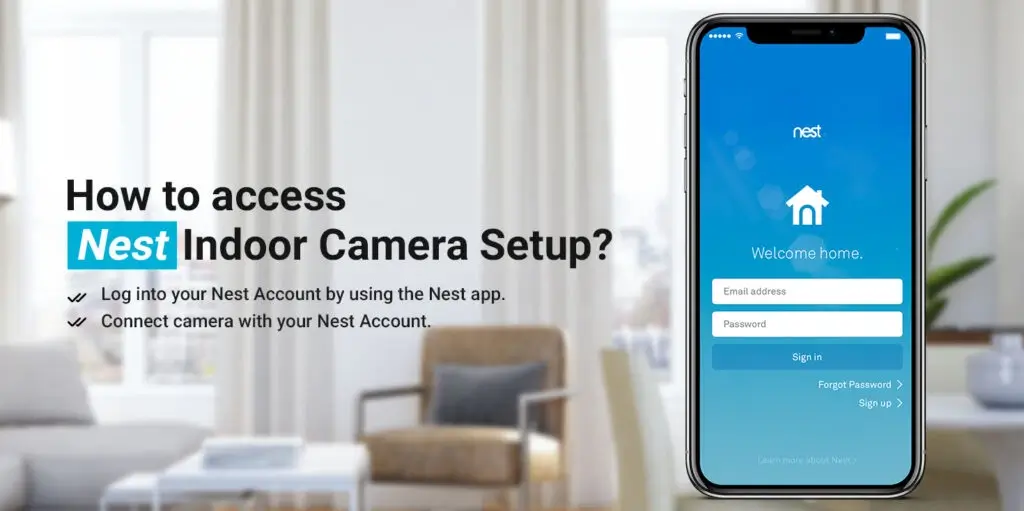
- Firstly, log into your Nest Account by using the Nest app. If you do not yet have an account just tap Register to sign up at no cost with your email.
- Then, connect a camera with your Nest Account if you’re new to Nest After you’ve logged into your account, click to add a camera by tapping the New button on the Nest home screen of the app.
- After that, select the camera to join. If you’re adding a Nest Indoor Camera Setup or Nest Cam Outdoor, choose Nest Cam.
- If you already have a Nest product: Click the Settings icon (it’s shaped as the shape of a gear) on the right side of the Nest home screen of the app. After that, tap Add item, and then select which camera you’d like to include.
- If you’re planning to add a Nest Indoor Cam Setup and Nest Cam Outdoor, choose Nest Cam.
Take note that if you own more than one residence in your Nest Account Make sure that you’ve selected the one you’d like to set up your camera.
- Then, tap the menu icon on the upper left corner of your home screen to switch to a different home screen. Manage several Nest products through the help of your Nest Account.
Simply Scan the QR code
- It is the Nest app will prompt users to look up their Google Nest Indoor Camera’s QR code with their tablet or phone. The QR code is on the reverse (Indoor) or the underside (Outdoor) of the Nest Cam.
- After that, place the QR code into the blue box, and the app will capture it. It’s not necessary to change to use your tablet’s or phone’s camera app. Just look up the QR code in Nest. Nest app. If you own a Drop cam Pro, you’ll require to enter the serial number that is inside the front of the camera. The serial number starts with 308cfb.
- After that, connect your camera using the USB power adapter, then enter the serial number.
- If the QR code isn’t working, If your device or smartphone has trouble scanning the QR code simply tap Continue scanning without stopping.
- You then have to enter the serial number of the camera in place of scanning QR codes. You will find the serial number with 12 numbers located on the reverse of your camera right next to the QR code.
- Then, connect your camera using the supplied USB power adapter prior to entering the serial number.
- If you’re creating the Nest Indoor Camera Setup, you’ll also need to enter the 6-digit entry key. The entry key can be found close after the QR Code.
Resolving Issues With Scanning QR Codes
- Before moving on to the next stage, be sure you’ve got the Wi-Fi password handy and that the camera’s power cable is in a position to connect to the power outlet. Then, on your Nest app, click Next to proceed.
- After that, select a name for the camera that corresponds to where the camera will be located. Choose the pre-set location, or create an individual location by choosing Custom at the end.
- Then, the Nest app will utilize the location you specify to notify you when the alerts are occurring and also place your devices into the app.
- Wired Connections
- Make use of the charger and power cord for plugging the camera into a standard power outlet.
Please note that if you typed the serial number of your Google Nest Indoor Camera then your camera should already be connected. Once your camera has connection, its LED will change to blue to indicate that it is powered. Within your Nest app, select next to proceed.
- Wireless WiFi Connections
Your Nest Indoor camera setup will look for Wi-Fi networks that are nearby automatically. Just wait for a second until the Wi-Fi network list is displayed before you select the Wi-Fi connection you’d prefer to have your camera use. It may be necessary to enter your Wi-Fi password. Be certain to join only a network that you can trust. It might take a time to connect to the Wi-Fi network you have chosen.
Finalize Setup
It’s time to set up your camera. It’s online now and is an element of your Nest Account.
Verify the video stream on your camera
Once you have connected your device to the Wi-Fi the app will verify that the camera is able to stream video.
Google Nest Indoor Camera: You’ll see the option of receiving alerts about the event.
Nest Cam Outdoor: You’ll see a screen that instructs you to disconnect the camera and prepare to take it outdoors.
After the camera has been set up after the camera has been mounted, the camera is mounted, Nest app will allow you to decide if you’d like to receive alerts about the camera’s activity.
Nest Indoor Camera Wall Mount
Each Nest Cam Indoor allows DIY installation, however, each one is mounted differently.
1. Mounting horizontally
It is possible to place Nest Indoor Camera Setup on a table, shelf or table. There is no need for the metal mounting plate to use this method. Set it down and then check the video stream on Nest. Nest app. If your camera doesn’t connect to Wi-Fi, or the video stream gets interrupted then you may need to select a different spot in which the signal is stronger. A few centimeters could change the picture.
2. On an Iron Surface
There’s also a powerful rare earth magnet in the bottom of the Nest Cam Indoor’s base, so it can securely attach to the metal surface. It isn’t necessary for drilling holes, or utilize the mounting plate made of metal to accomplish this. Simply attach the Nest Cam Indoor to a refrigerator or file cabinet or any other metal surface. We do not recommend connecting the camera to computers or electronic devices, since this could lead to harm. Check your camera’s video stream using the Nest application.
If your Google Nest Indoor camera cannot connect to Wi-Fi or the video stream is disrupted it is possible to select a different spot that has a stronger signal. Just a few centimeters can change the picture.
3. Affixed to a Ceiling or Wall Using the Plate for Mounting
For those who don’t own any metal surface equipped with a magnetic base that will stick to it and you want to mount the camera’s metal mount on the wall or the ceiling. After that, you can attach the Nest Cam to the plate and then rotate it until you get the picture you want.
- Firstly, check that the spot you’ve selected is close to an electrical outlet. Make sure you place the Nest Indoor camera setup exactly where you’d like it to be using your power cables and the adaptor connected. Then, you’ll need a bit of extra slack in this case.
- After that, verify your Wi-Fi signal by watching your camera’s video stream using Nest. Nest app. If your camera cannot connect to Wi-Fi or the stream of video is disrupted it could be necessary to find a different location where the signal is more powerful. Just a few centimeters can be a big difference.
- After your camera is successful in streaming video, you’re now ready to mount your mounting plate. Then, place the plate on the ceiling, wall, or any other surface, and fix it into place. Be sure the cable clip is pointed in the direction you’d like the cord to travel. Screws are self-tapping, which means they can be easily inserted into wood, plasterboard, and other plasters without having to drill holes. If you’re looking to drill holes into hard material like concrete, or even masonry choose wall anchors that are readily available at the local DIY shop.
Important:
If you’re required for drilling, just drill one hole to begin. Install the mounting plate on the wall in a way that the hole that you’ve drilled is aligned against one of the slot holes in the plates. The other holes should be drilled with the slot as a reference. This will make sure that all holes align with the slot.